Making Raffle Tickets
Ticket Wizard lets you quickly make raffle or lottery tickets based on a spreadsheet with numbers. Here is the one I made for this tutorial:
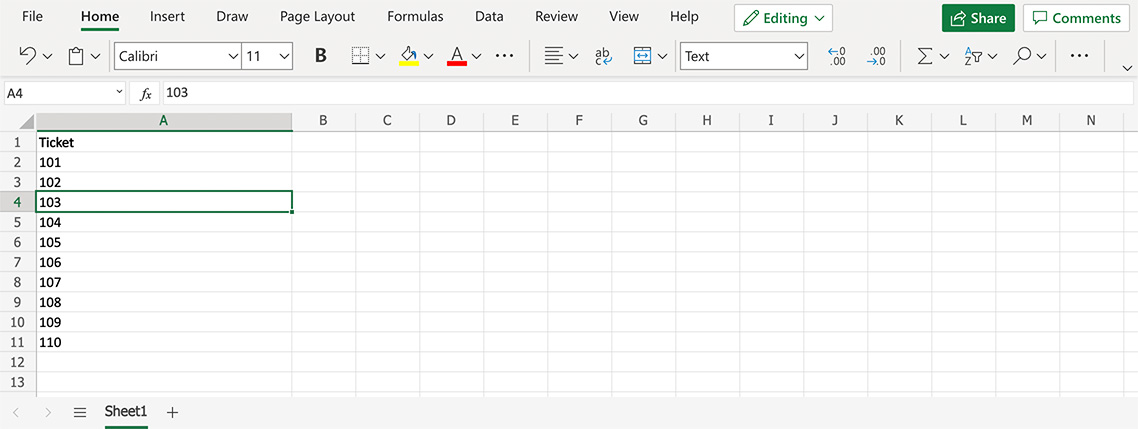
The idea is to have a single column of data with a title at the top. Save this file to Excel (XSLX) or CSV format and keep it nearby as we will use it a little later.
Loading Artwork and Data
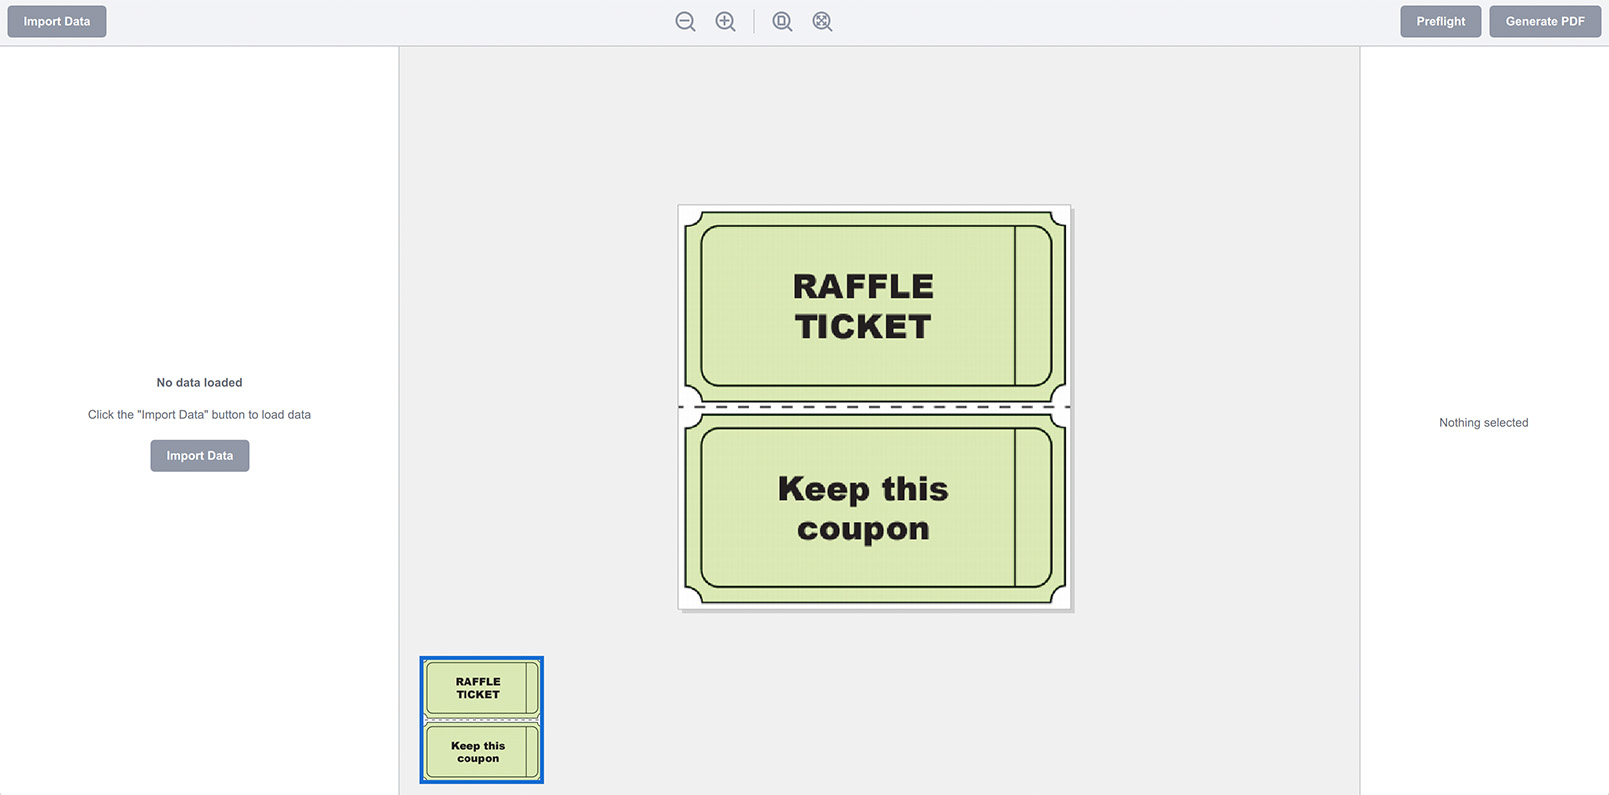
You will need the artwork raffle ticket template with all the static artwork and texts. Start Ticket Wizard and drop your PDF artwork template there. You should get something like this:
Once you get the artwork loaded you can click the Import Data button at the top left corner and select the data file you exported above. You should see the spreadsheet data in the data import preview panel:
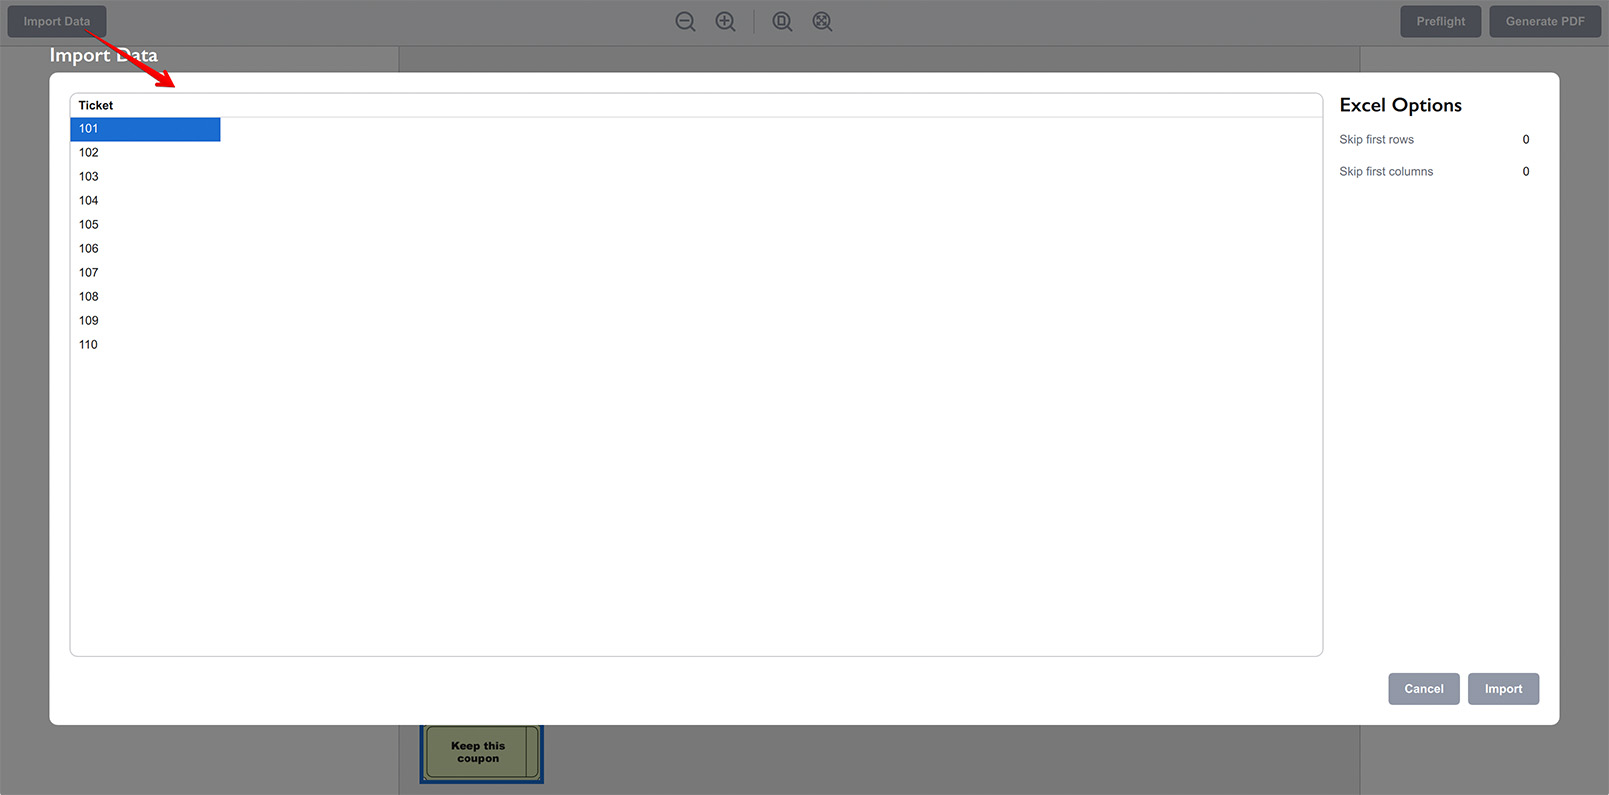
Check that everything is correct, use the right panel to adjust the import settings and click the Import button at the bottom once done. You will see the ticket numbers loaded to the left panel:
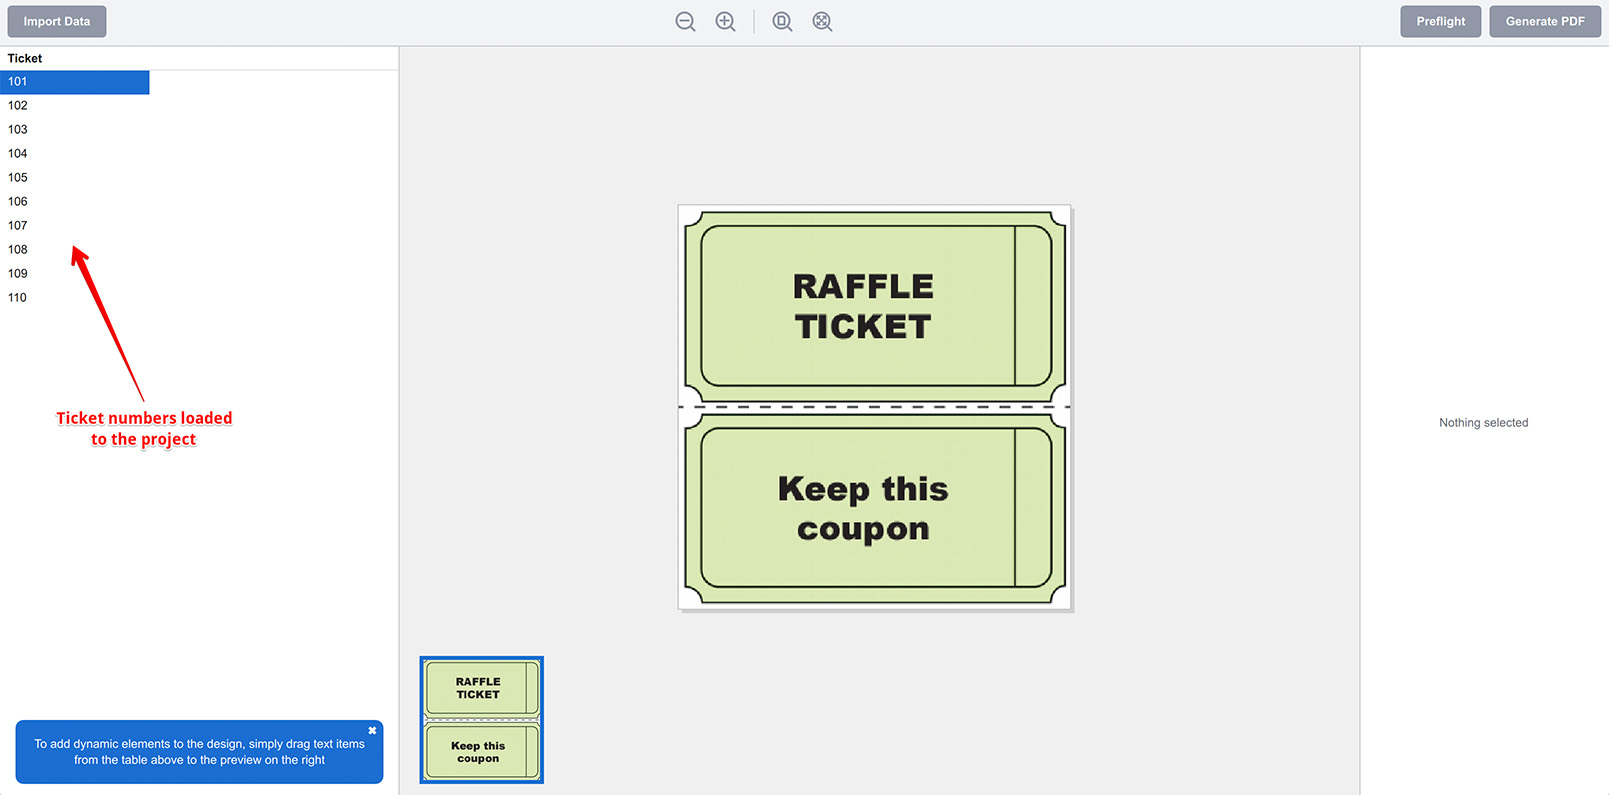
Now you get both artwork and ticket numbers loaded to the project and everything is ready to start making tickets.
Adding Numbers to Tickets
To add raffle ticket numbers to the artwork template you simply drag it with a mouse from the left panel onto the artwork. Once you drop the element to the artwork in the middle you will see a popup menu asking if you want to place it as text or barcode, select the text option. You should get this:
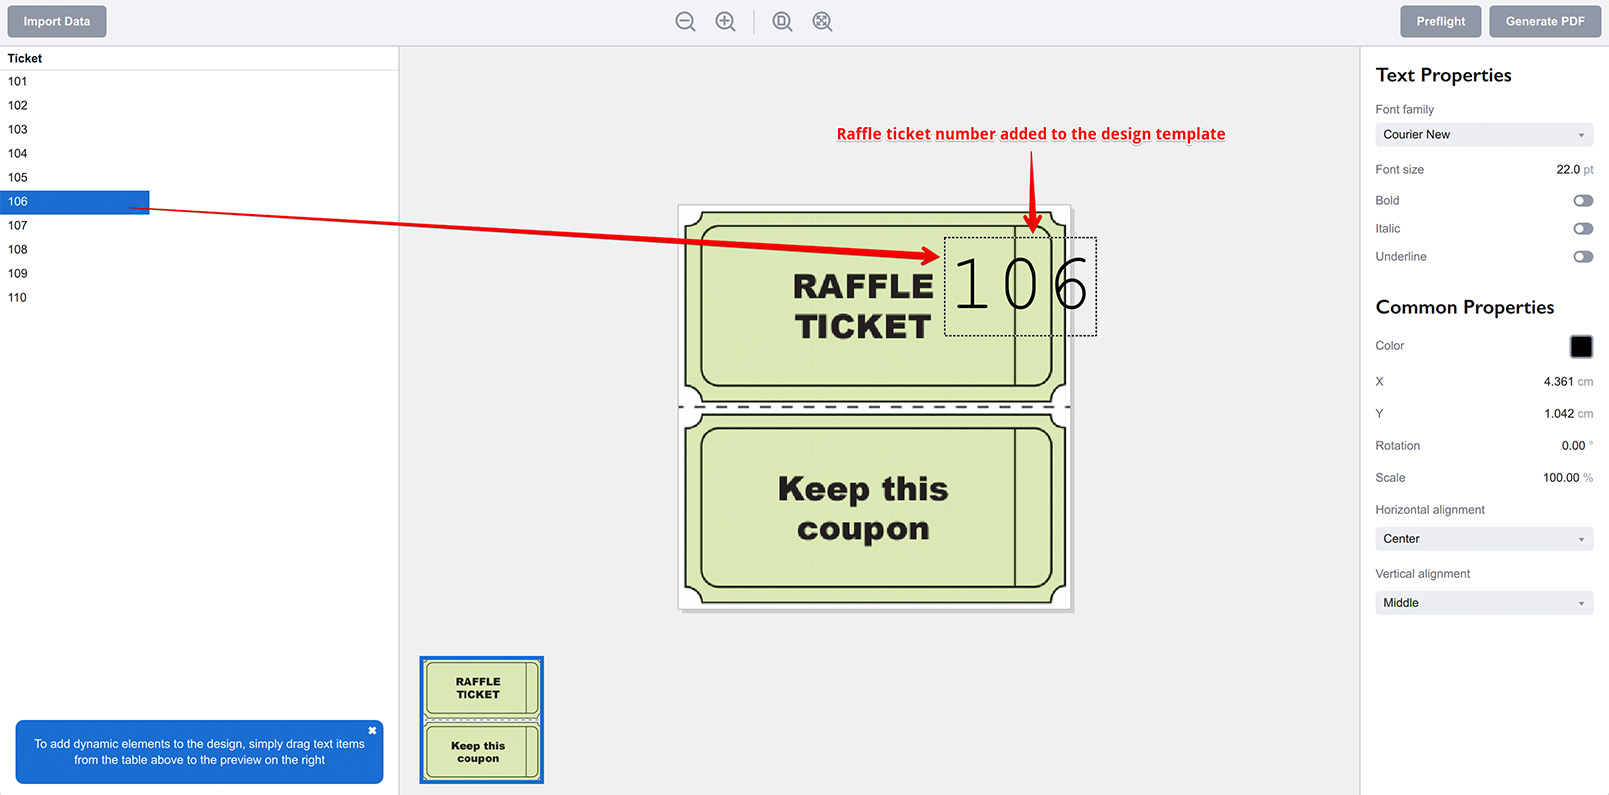
Now try clicking ticket numbers on the left and see that the dynamic element you’ve just added gets updated with the number you select. That’s pretty much how Ticket Wizard works: you place dynamic elements on top of the artwork and Ticket Wizard runs through the data you imported and exports a copy of the artwork with every data row.
Let’s fit the text element we’ve just added to the design. You see the properties of the selected element on the right, let’s adjust a few parameters there to rotate the text and change its font:
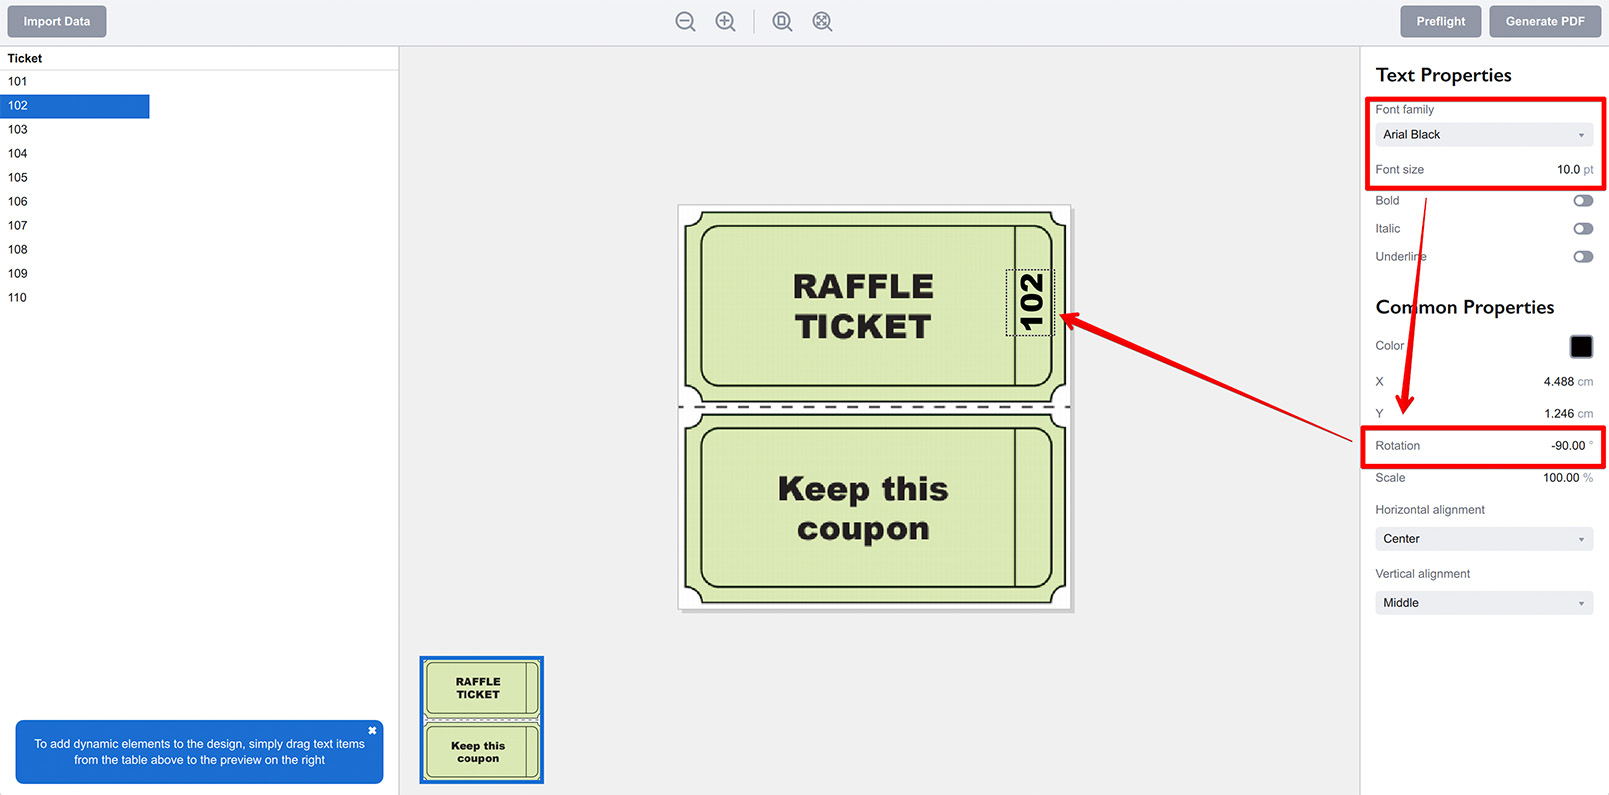
Here I changed the font, size and rotation angle of the text element and moved it to the side panel of the ticket. It might be a good idea to scroll through the imported data and see that the changing number still fits the design for all the input data.
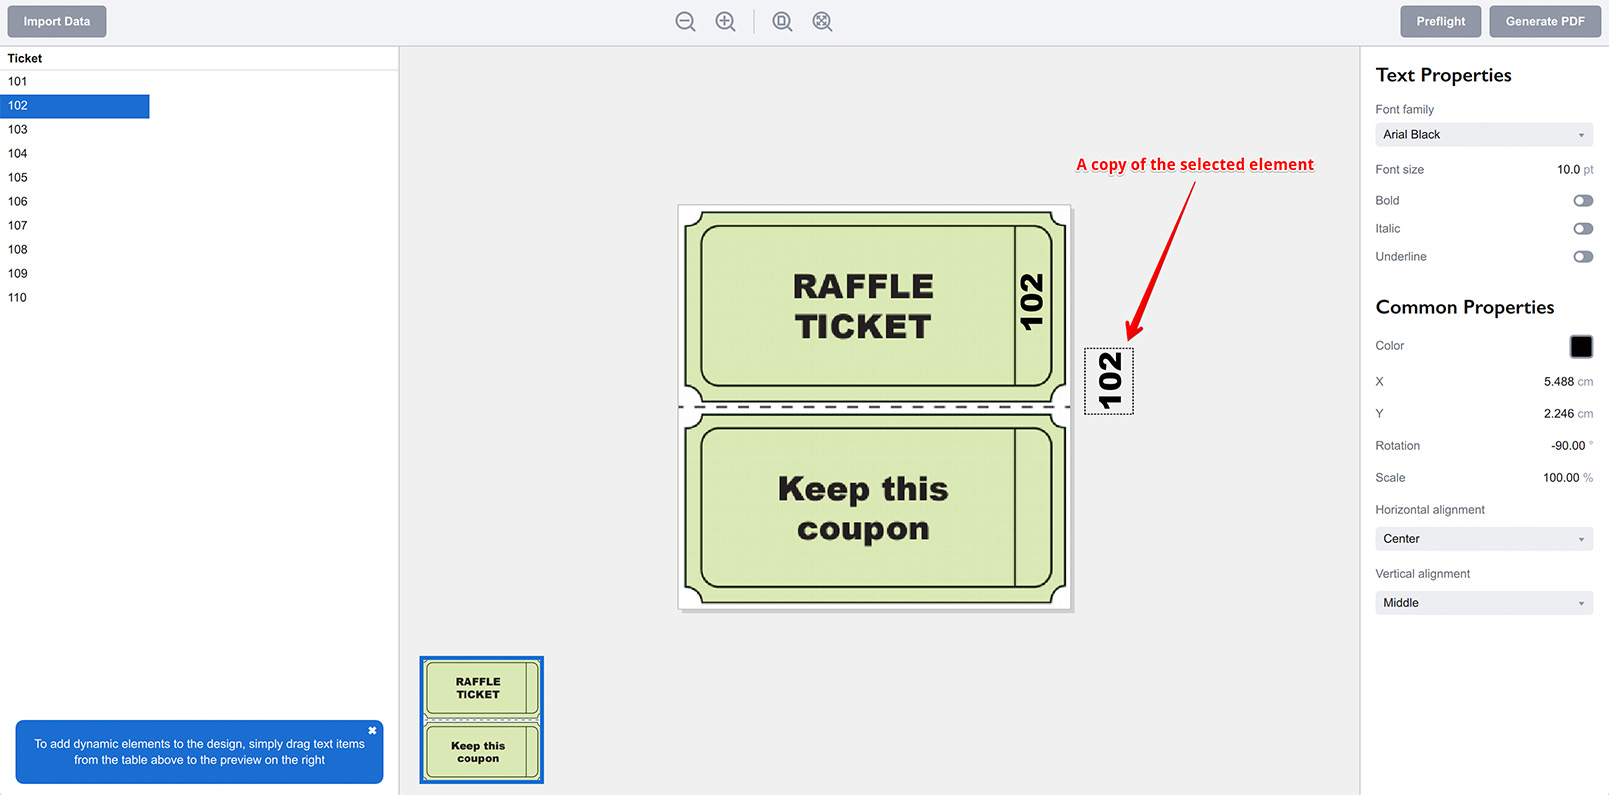
Now we need to add another copy of this element to the bottom part of the design. Although you can drag that data from the left panel again and configure it the same way, there is an easier method: right-click the existing element and select Copy from the popup menu, then right-click again and select Paste or use the keyboard shortcuts. You will end up with a copy of the selected element placed nearby:
Move that copy to the bottom part of the ticket to complete the layout:
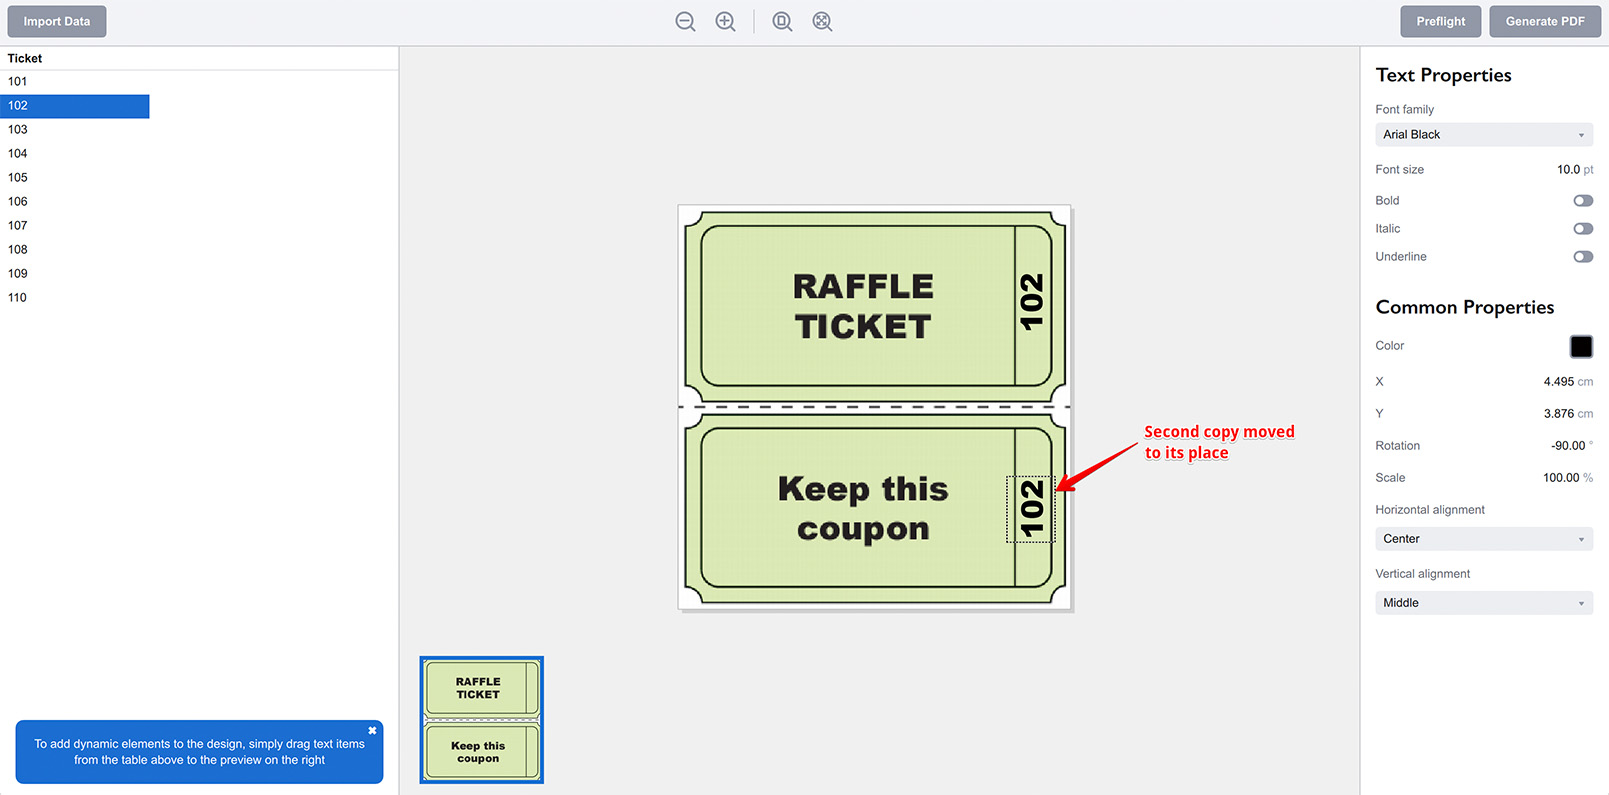
Once again run through the imported data and see that all the numbers fit into the design. If everything is fine you can now export raffle tickets to the PDF file.
Exporting Raffle Tickets
Click the Generate PDF button at the top right corner to start exporting. You will be asked if you want to simply export tickets to PDF on a one-per-page basis, or if you want to place multiple tickets onto the same page. Let’s output them 5 in a row without gaps and with some borders:
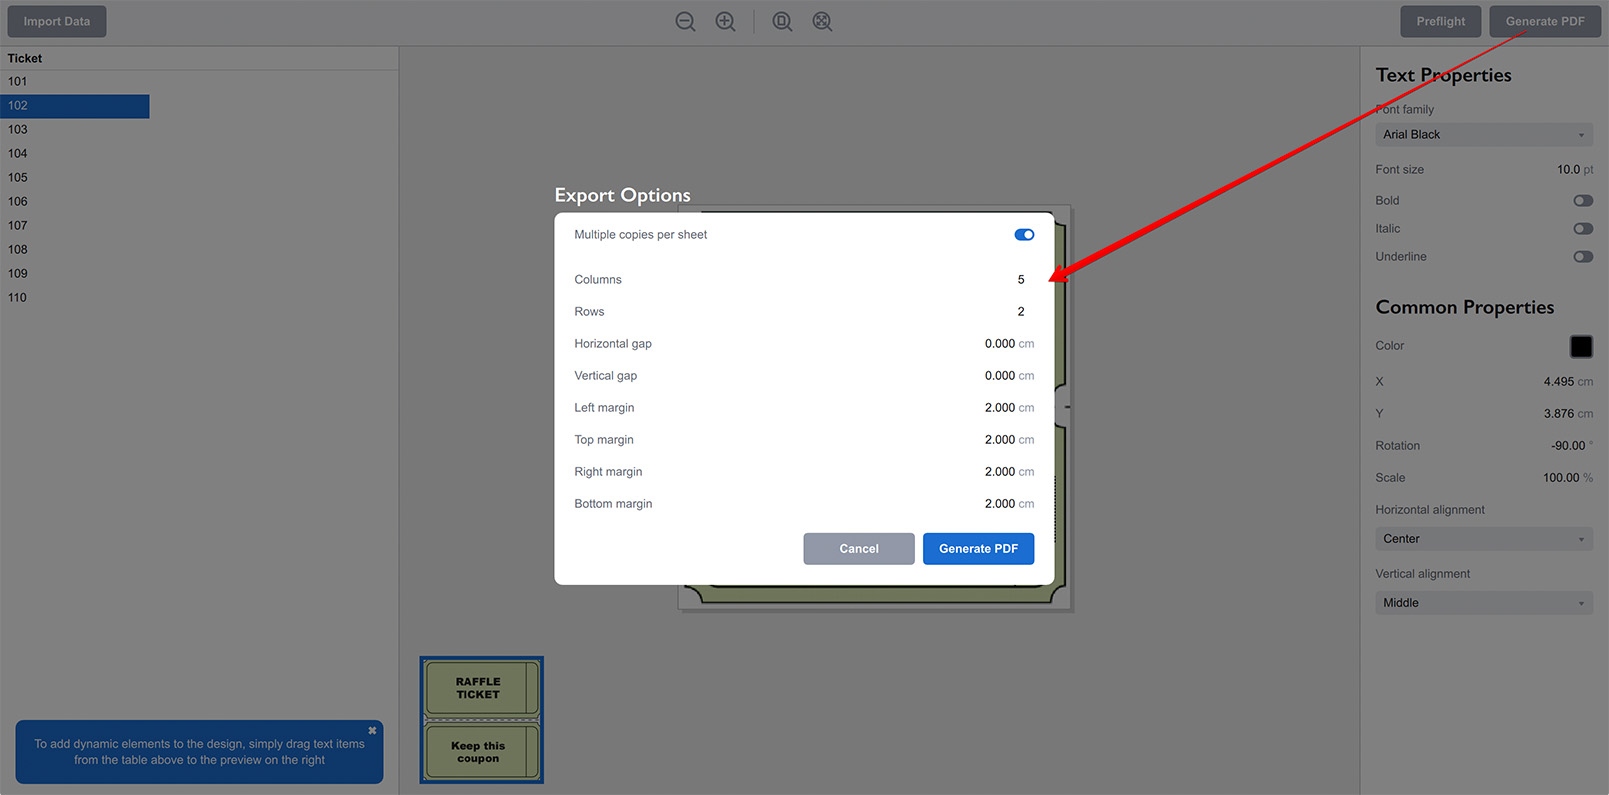
Finally you can click the Generate PDF button at the bottom and get the PDF file with raffle tickets made for you:
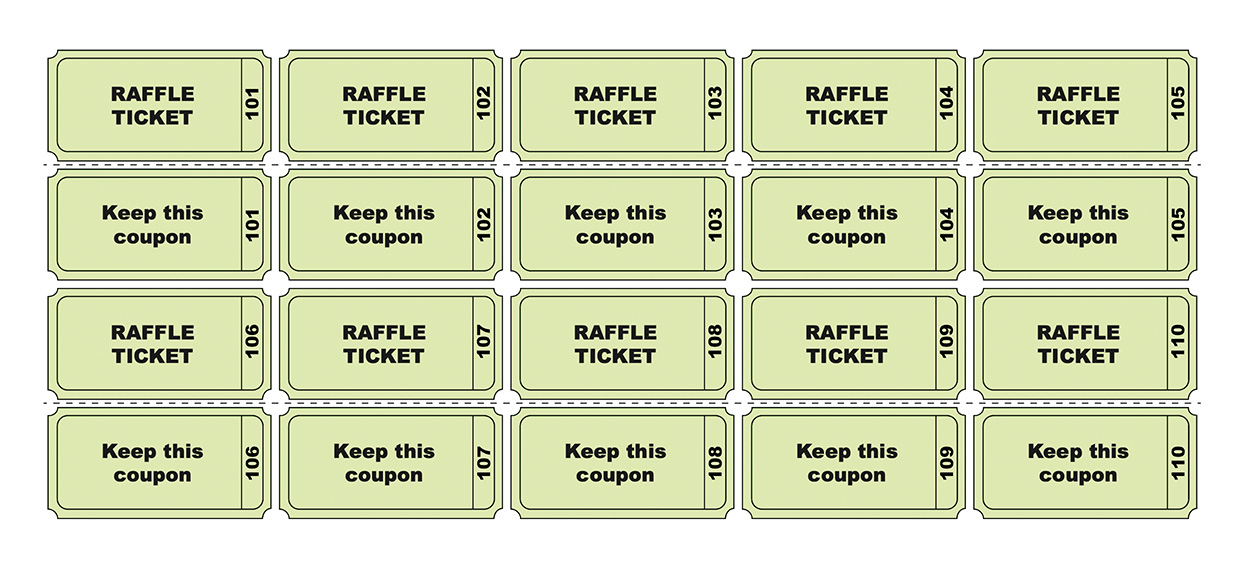
All you now need is to print and cut them and the job is done!
More Ticket Wizard Tutorials
Installation
- Installation — how to install Ticket Wizard;
- License Activation — how to activate Ticket Wizard with a license key.
Basics
- User Interface — the user interface of Ticket Wizard;
- Basic Project — making a basic project from scratch.
More Specific Examples
- Making Asset Tags — making inventory tags from Excel files and PDF artwork;
- Making Raffle Tickets — generating raffle tickets using PDF artwork template and spreadsheet data;
- Making Business Cards — batch–making business cards using Excel data and PDF template;
- Making Price Tags — making price tags using PDF template and spreadsheet.